During this Fall I have been trying to give a new look to our sofa. Poor little thing, serving a family of four with two dirty little children and a not any less dirty dog, this sofa could tell you horror stories of poured cereal, apple juice, sharpie marks, melted candy, chocolate biscuits, mud, wild wet dog running in from the rain, and whatsoever. It has a central part in our everyday life, and therefore it gets used and shabby. However, we are not going to replace it with a new one, not just yet.
Instead, we made a cover for it, that can easily be washed, many times a week if needed, and the sofa itself goes under heavy cleaning once in a while. So with the new cover the sofa got a new life, and a new, funky colour (ok, probably not so, funky, but a bit more fresh at least). And it needed new cushions too. (Yes, the old cushions were all chewed up by our dog when she was a puppy, and for a while I decided to go cushion-free for safety reasons, but it is a different story.)
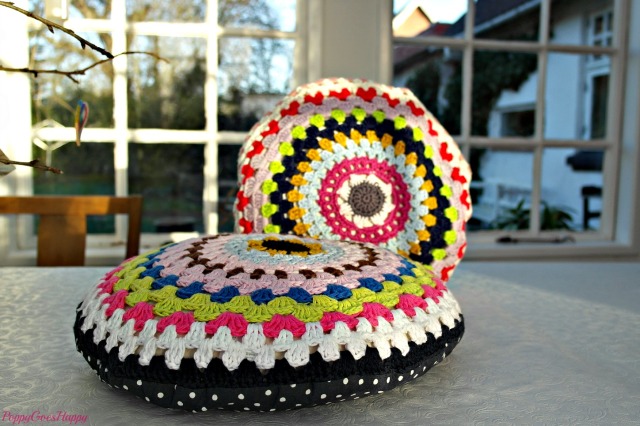
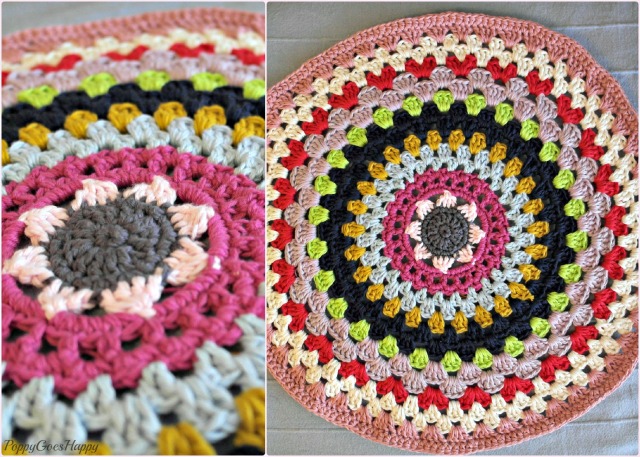
Besides sewing cushion covers of my favourite fabrics, I decided to make two round cushions with crocheted covers. I did some research for patterns, and for the core I went with the lovely sunflower pattern I found as the center of a granny square pattern, you can read the tutorial here. After that I carried on crocheting granny style. As I didn’t find a pattern I could directly interpret to my pillows, I went the good old trials-and-failures path, but finally I found the right way, and ended up with the perfect pattern. As I said, I made to pillow-covers, the first took me literally 3 weeks, because of all the trying and failing, pulling downs and starting overs. Once I was done with that, and had my little pattern in writting, I completed the second cover in less than 2 days 🙂
I took the completed mandalas, sewed them together with some fabric of my choice, and stuffed the pillows inside them. Aren’t they lovely? 🙂
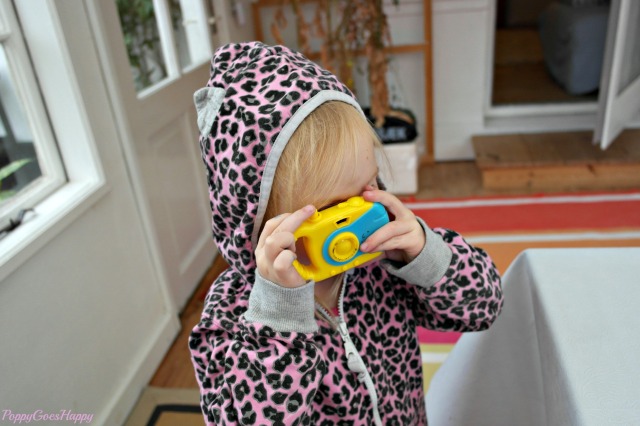
I know you are interested in the pattern, so I am going to share it with you. But first things first, I would like to introduce you to my lovely photoassistant of the day 🙂
Now the pattern: This pattern is going to fit a round pillow of 40 cms in diameter. I used a size 6 (or 4.25 mm) crochet hook, and used up all the sweet little acryl yarns I had in stash already. These are all kind of thin yarns, so I used them doubled up. I also went with as many colours as possible per cushion, but of course the colour choices are completely up to you 🙂 I am using US crochet terms in my description.
The Sunflower Granny Circle Pillow:
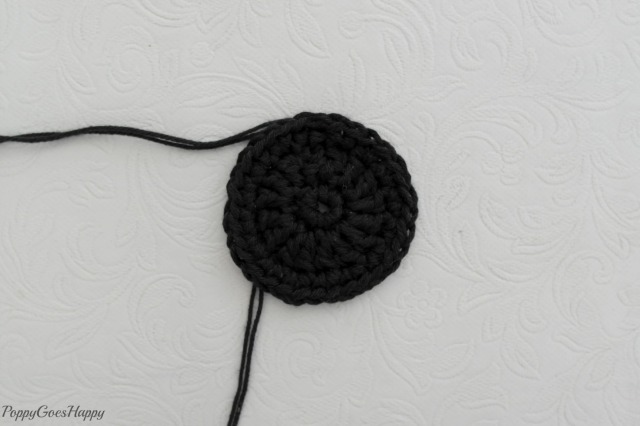
- Start with a magic loop
- Rnd 1: Chain 1, 7 scs in the ring. (You will get 8 scs this way) Slip stitch into the first chain stitch.
- Rnd 2: Ch 3, dc in the same st, 2 dcs in each st all around. You will get 16 dcs in total. Sl st in third chain of the beginning.
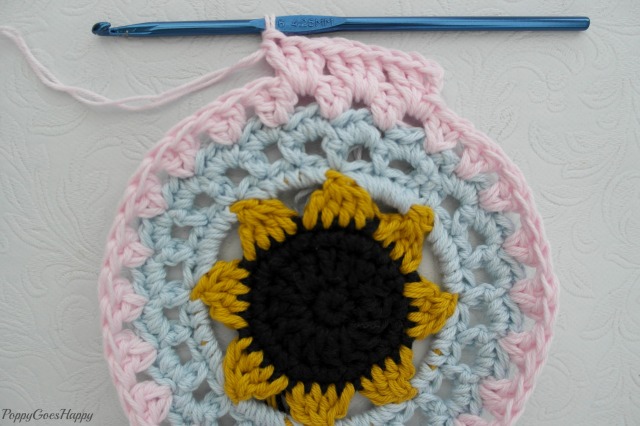
- Rnd 3: Ch 1, sc in the same st, 2 scs in each st all around. You will get 32 scs. Sl st into first chain. – Now the core of your sunflower is made.
- Rnd 4: Ch 2, dc3tog, ch 4, * dc4tog, ch4* , repeat * * 6 more times. You will end up with 8 petals. Sl st in top of chain. – Now your sunflower is done.
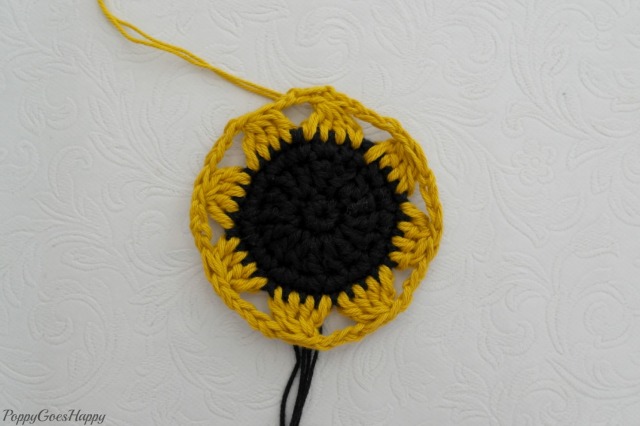
- Rnd 5: Ch 1 and 5 scs in the first 4chain-space. 6 scs in each 4chain-spaces around. You will get 48 scs in total. Sl st into first chain.
- Rnd 6: Ch 4, * skip st, sc in next st, ch 3*, repeat * * all around. You will get 24 chains of 3 chain spaces. Sl st into beginning.
- Rnd 7: Ch 1 plus 2sc sin the first 3chain-space. 3scs in each 3chain-space around. You will get 72 scs. Sl st into beginning of round. – Now the lacey part is done.

- Rnd 8: Let’s start the grannies! Ch 3 into the first space in between two scs of the previous row, 1 dc into the same space. *Skip 2 spaces, 2 dcs in the next space*. Repeat * * all around. Sl st into beginning. Here in this row you will have to cheat a little bit, because at the end you will only have to skip 1 space to reach the beginning.
- Rnd 9-10: 1 sl st to next st, then sl into space. Ch 3, 2dcs in the same space, 3dcs into next space, all around. Sl st into beginning.
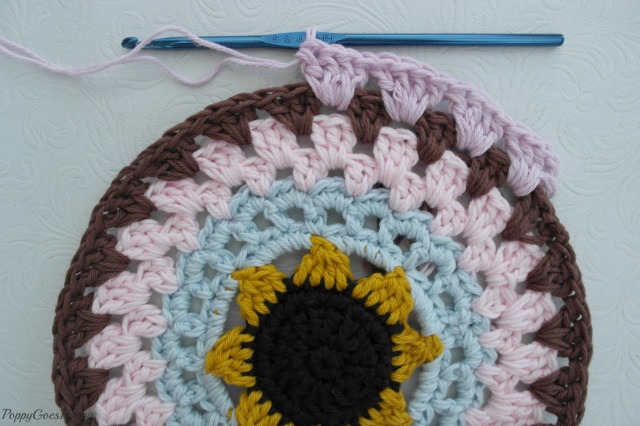
- Rnd 11-13: 1 sl st to next stitches, then sl into space. Ch 3, 3dcs in the same space, 4dcs into next space, all around. Sl st into beginning.
- Rnd 14-15: 1 sl st to next stitches, then sl into space. Ch 3, 4dcs in the same space, 5dcs into next space, all around. Sl st into beginning.
- Rnd 16: 1 sl st to next stitches, then sl into space. Ch 3, 5dcs in the same space, 6dcs into next space, all around. Sl st into beginning.
- Rnd 17: 1 sl st to next stitches, then sl into space. Ch 3, 2dcs in the same space, 3 dcs into spaces between every 3rd dcs of the previous row, all around. This way you can form cute little hearts 🙂 Sl st into beginning.

- Rnd 18: 1 sl st to next st, then sl into space. Ch 3, 2dcs in the same space, 3dcs into next space, all around. Sl st into beginning.
- Rnd 19: 1 sl st to next stitches, then sl into space. Ch 3, 3dcs in the same space, 4dcs into next space, all around. Sl st into beginning.
- Rnd 20: Ch 2 into dc of previous row. ‘ hdc in every dcs, all around. Sl st into beginning. You are done with your mandala:)
- Fasten off and weave in any loose ends.
Now you can pick some fabric for the back-side, or make another mandala for that purpose and join them together for your pillow cover 🙂
